I recently made some pillow cases for our new place and I want to share the tutorials with you. They are made with jelly roll strips (2.5″ strips of varying lengths) which are quilted directly onto the batting. If you don’t already have jelly roll strips handy for this project, you can prepare some with the fabric you already have. (Go to “How to Cut your own Jelly Roll” tutorial)
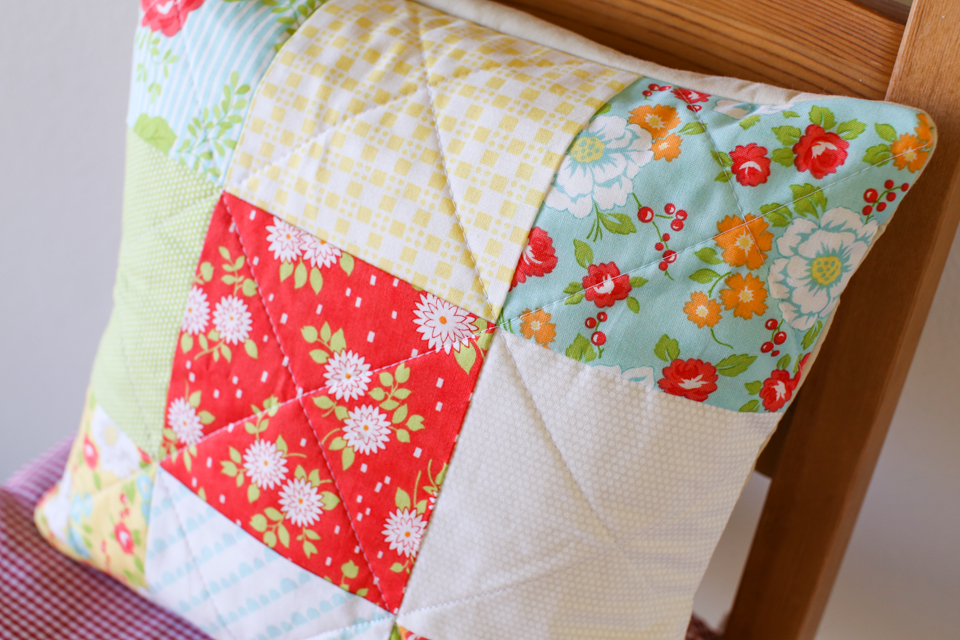
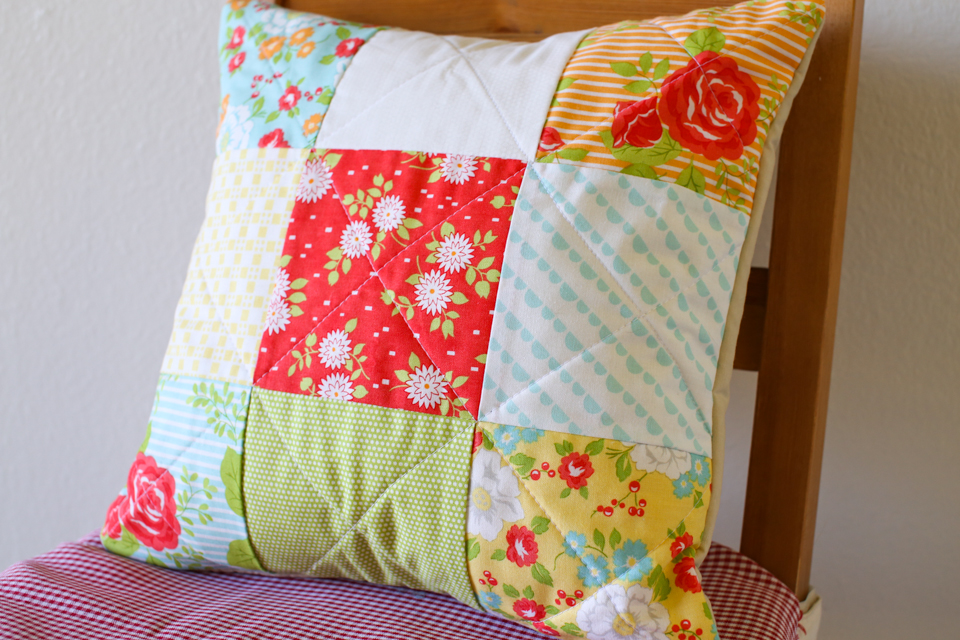
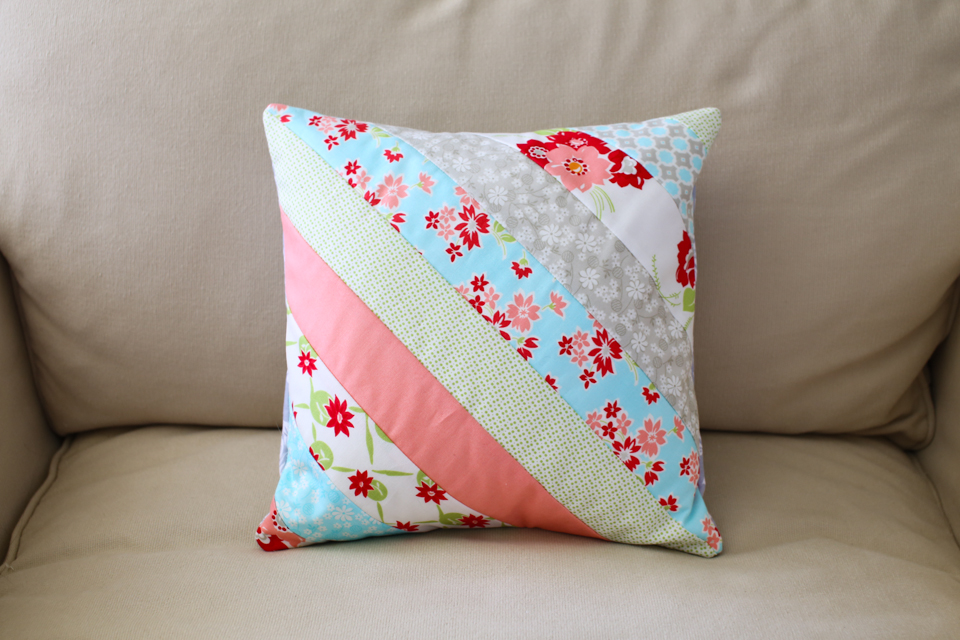
This tutorial will be for the diagonally striped design pillow case that fits a 12″ by 12″ pillow form and closes in the back in an envelope closure style.
Materials:
Jelly strips with a few different designs
1 – 13.5″ x 13.5″ square of batting
2 – 8″ x 13.5″ pieces of batting
2 – 9″ x 13.5″ pieces of fabric for backing
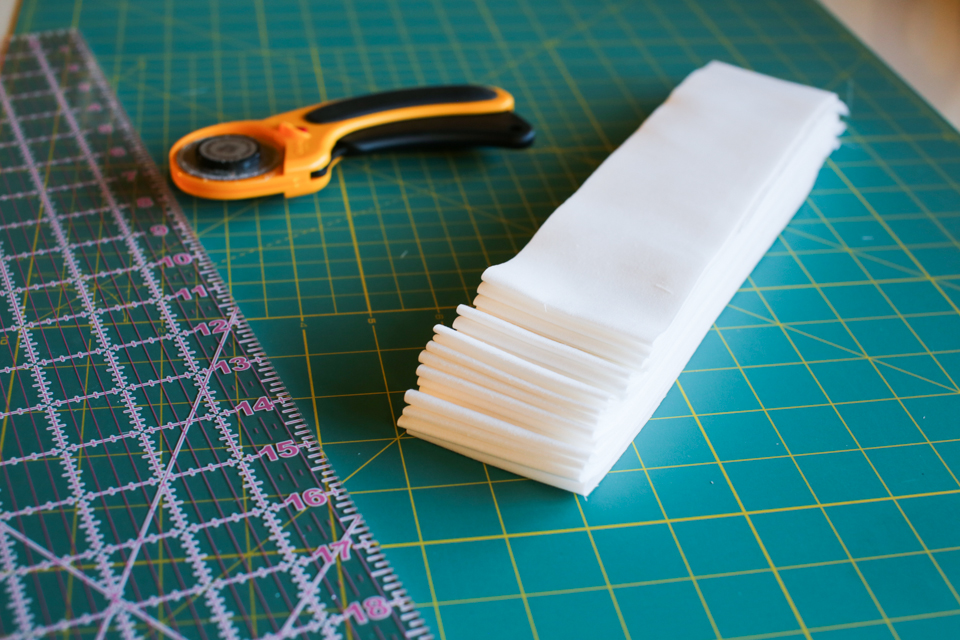
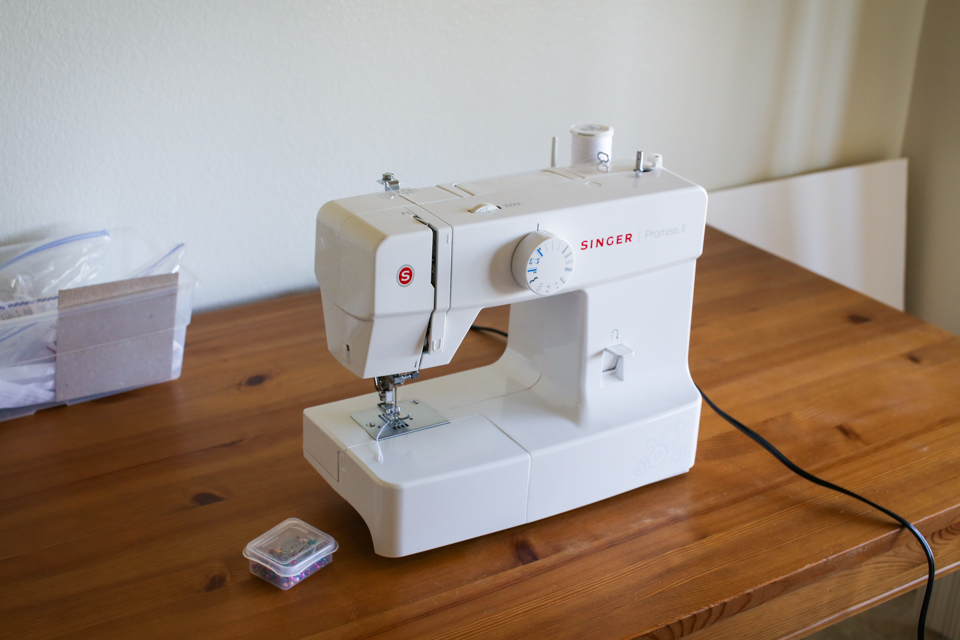
Sewing Pins, Scissors, Rotary Cutter, Ruler, and Cutting Mat
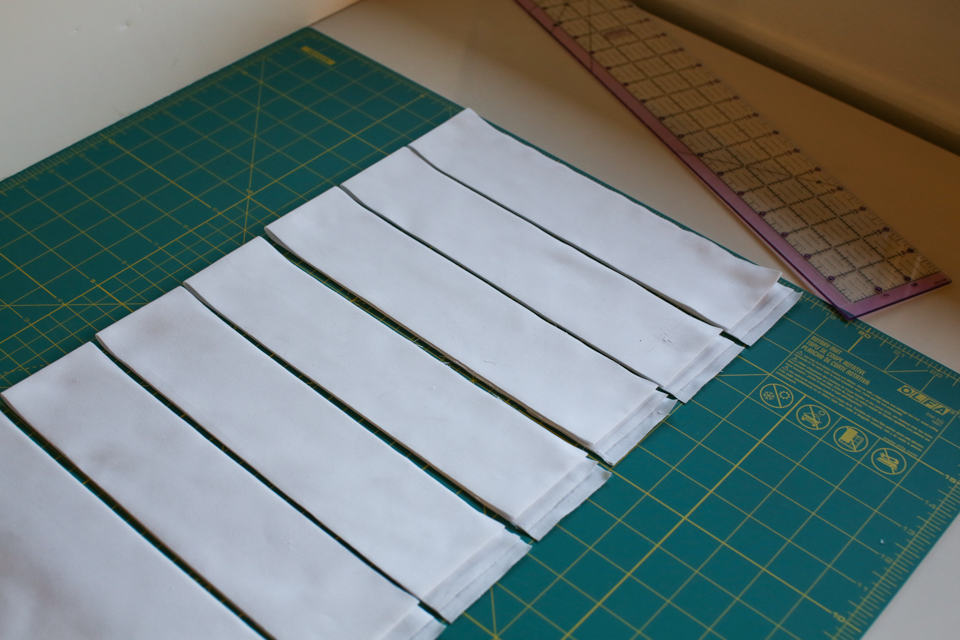
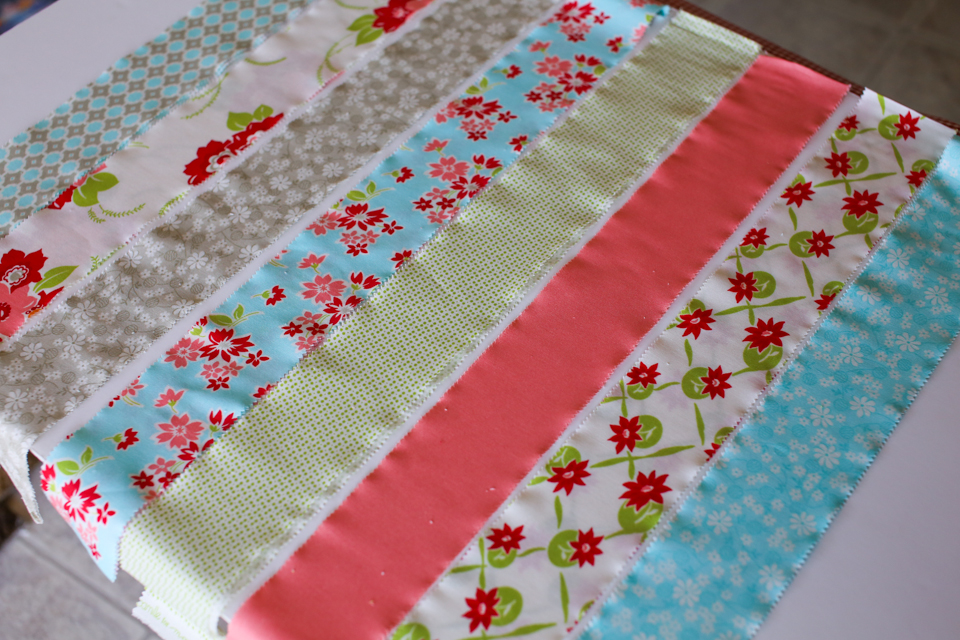
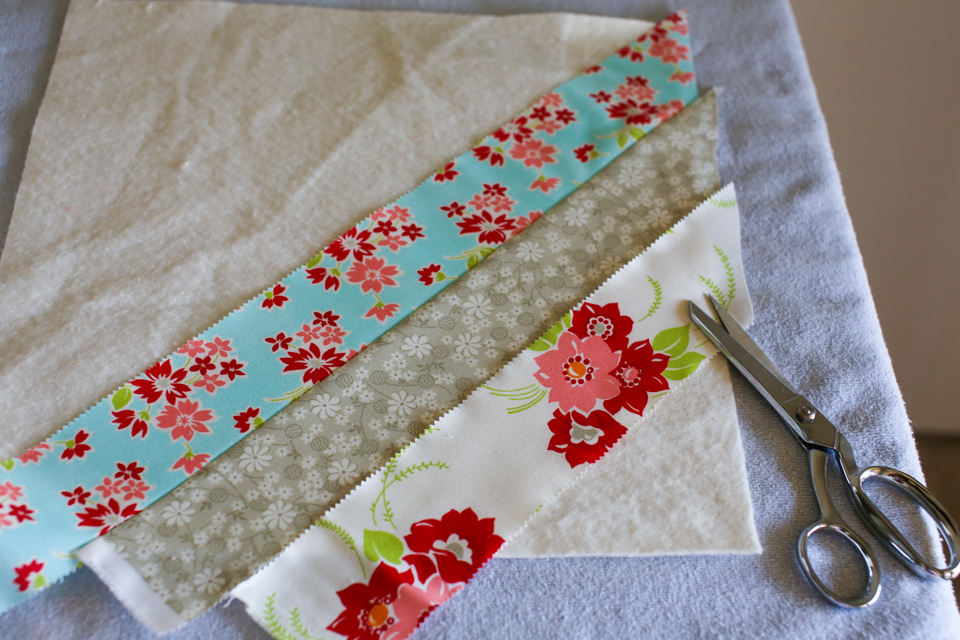
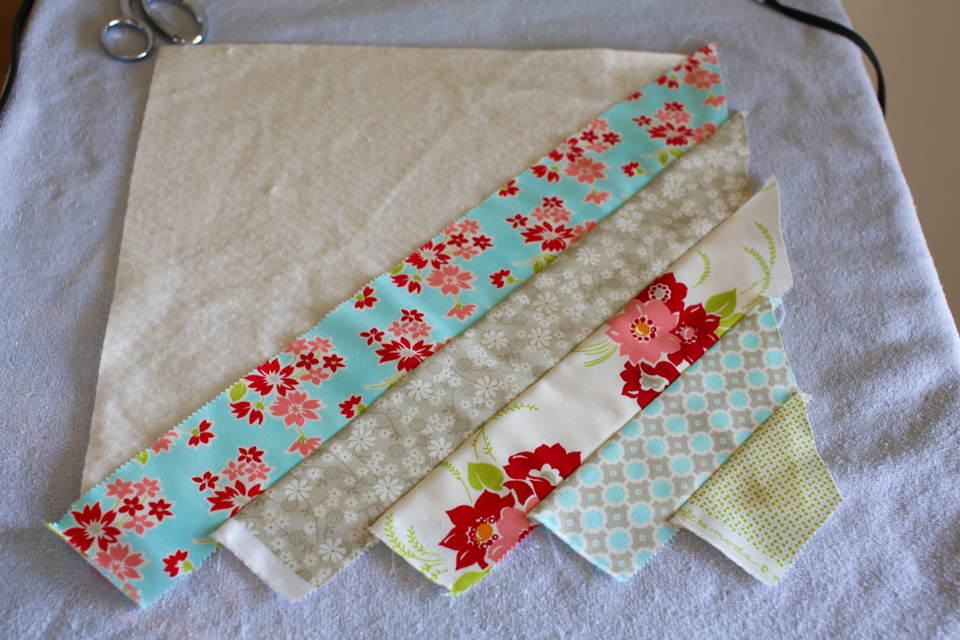
STEP 1: Prepare you strips.
You can have a couple different fabric designs and repeat them in a pattern or have every strip as a different design on your pillow.
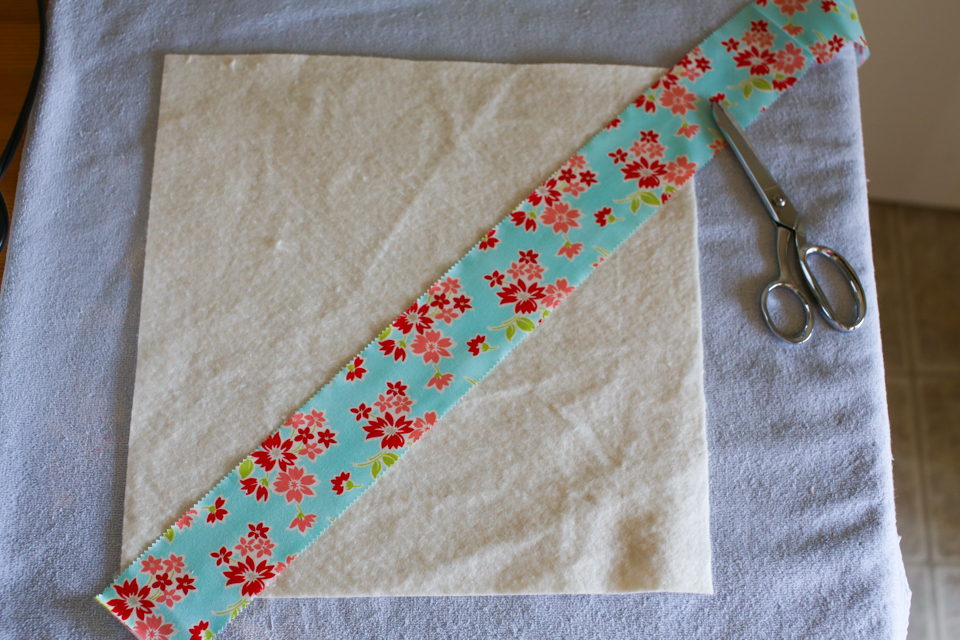
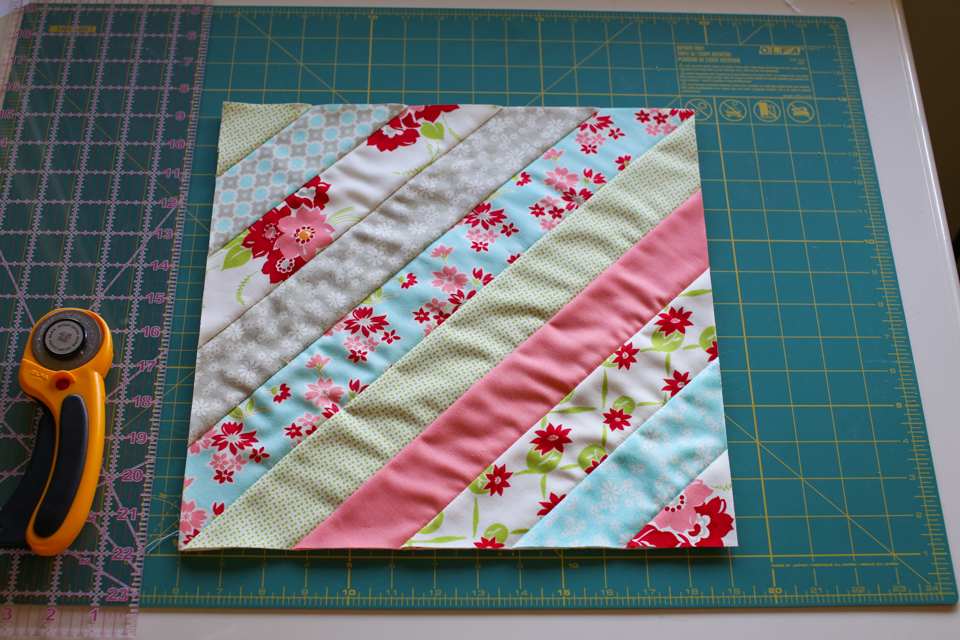
STEP 2: Attach your strips to your 13.5″ x 13.5″ square of batting at a 45-degree angle.
You don’t have to pre-measure any of your strips. Just place the strip over the square and cut the strip the length needed.
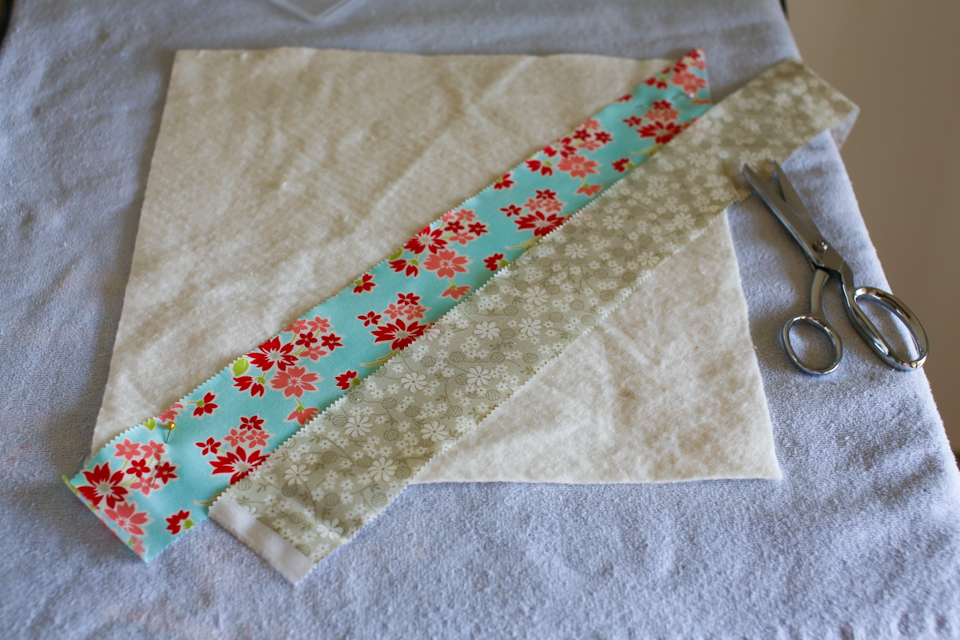
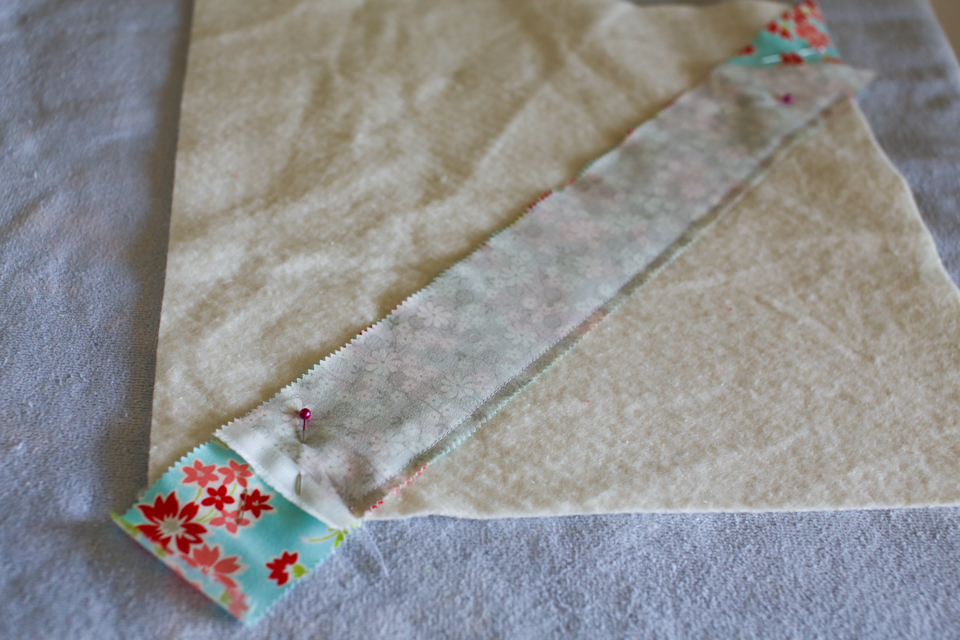
Pin down your first strip then measure out your second strip, which will be placed next to the first.Place your second strip face down on top of the first strip and sew along the bottom edge with 1/4″ seam allowance directly onto the batting.
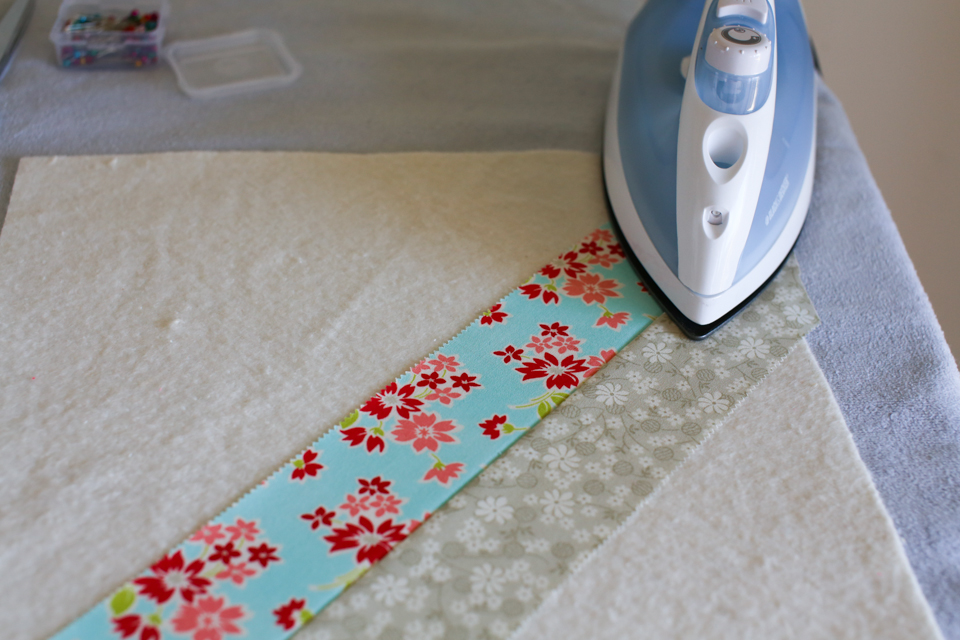
Remove pins and press open.
Measure out your third strip and cut the piece you need to fit. Don’t worry about being precise with the measuring and cutting of the strips. You can trim everything all at once when you’re done with attaching the strips!
Attach each additional piece in the same manner and press as you go to make sure each strip is nice and flat and ready for the next strip to be attached.
When you are finished with the first half, start attaching the next strips on the other side of the first strip you began with.
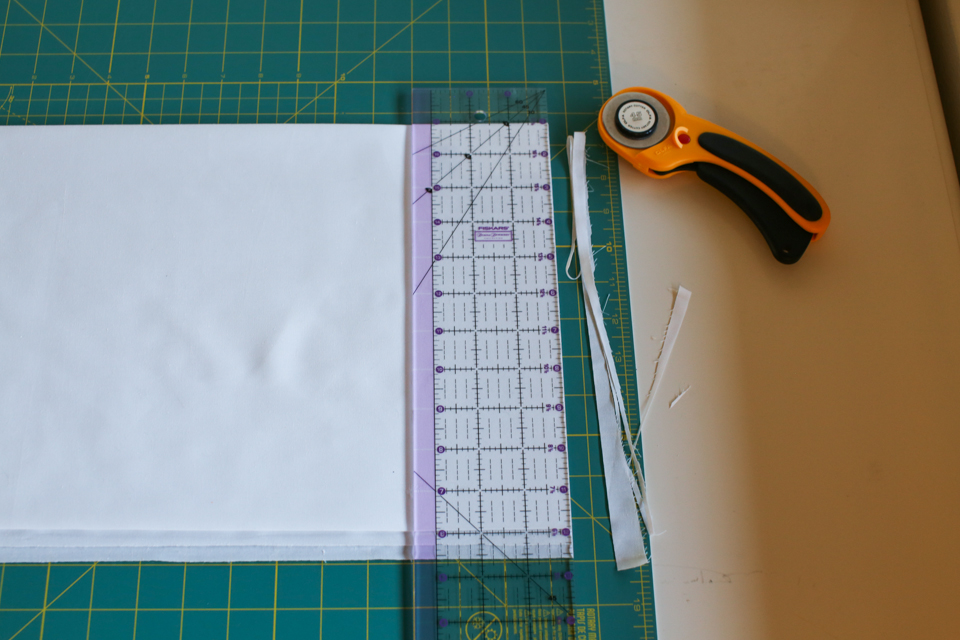
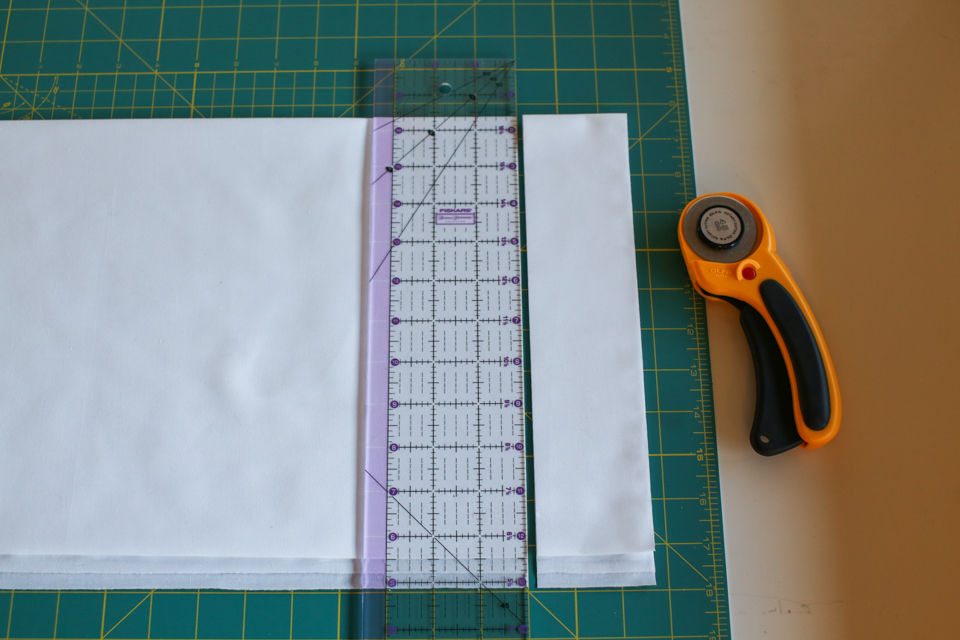
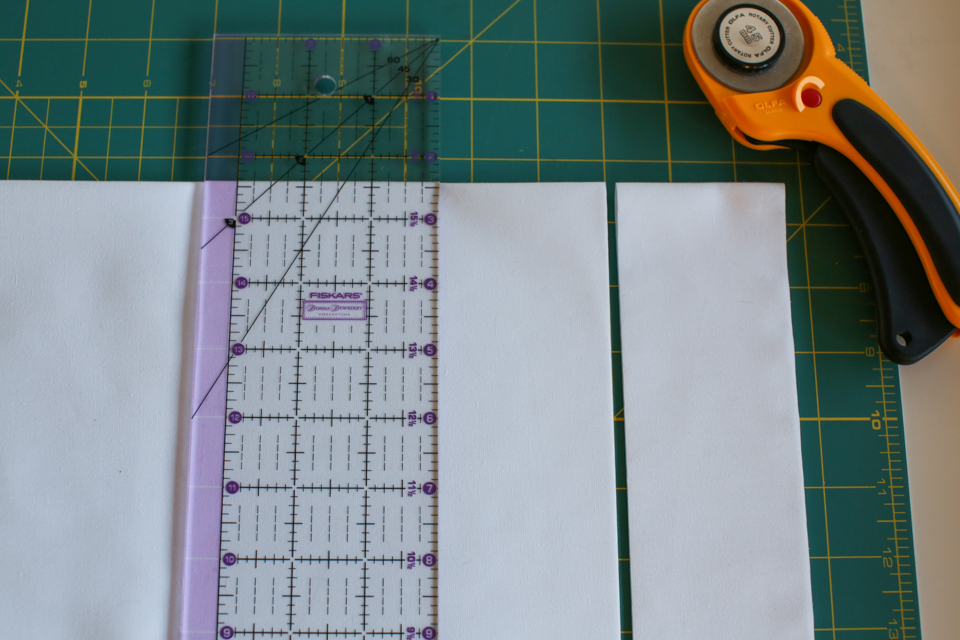
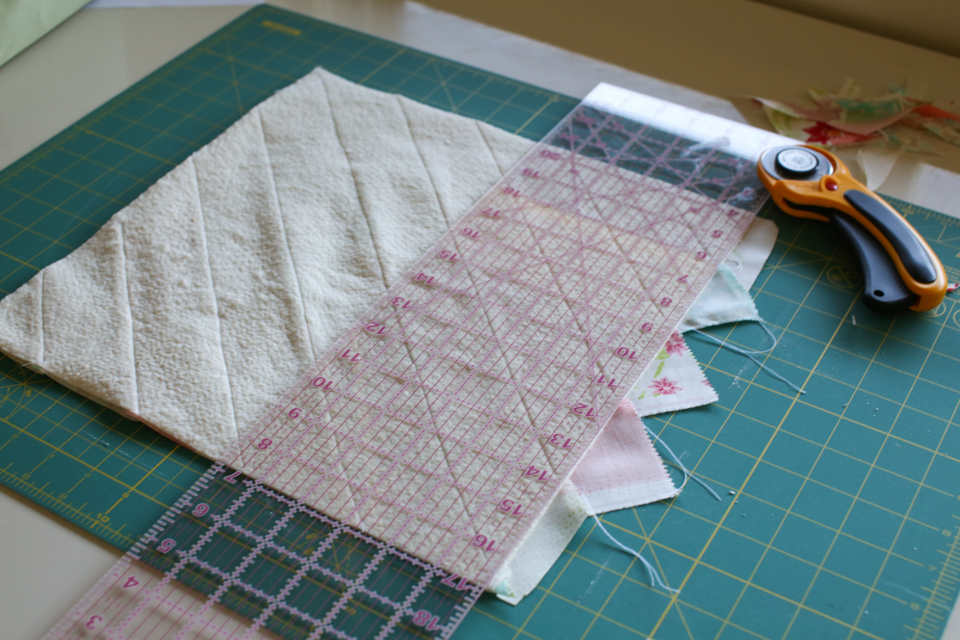
Turn over and trim the excess fabric back down to the original 13 1/2″ square on all four sides.
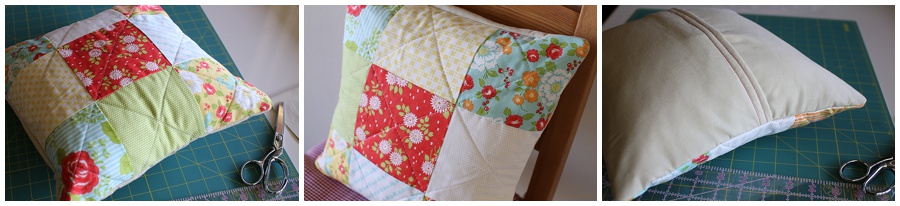
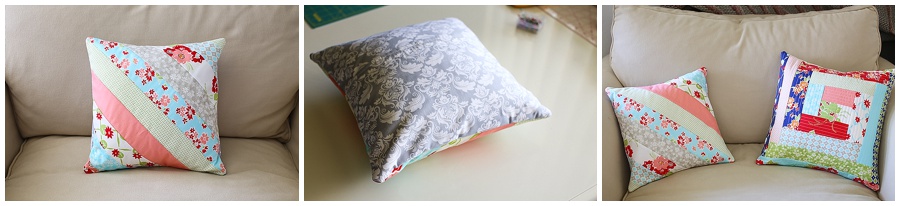
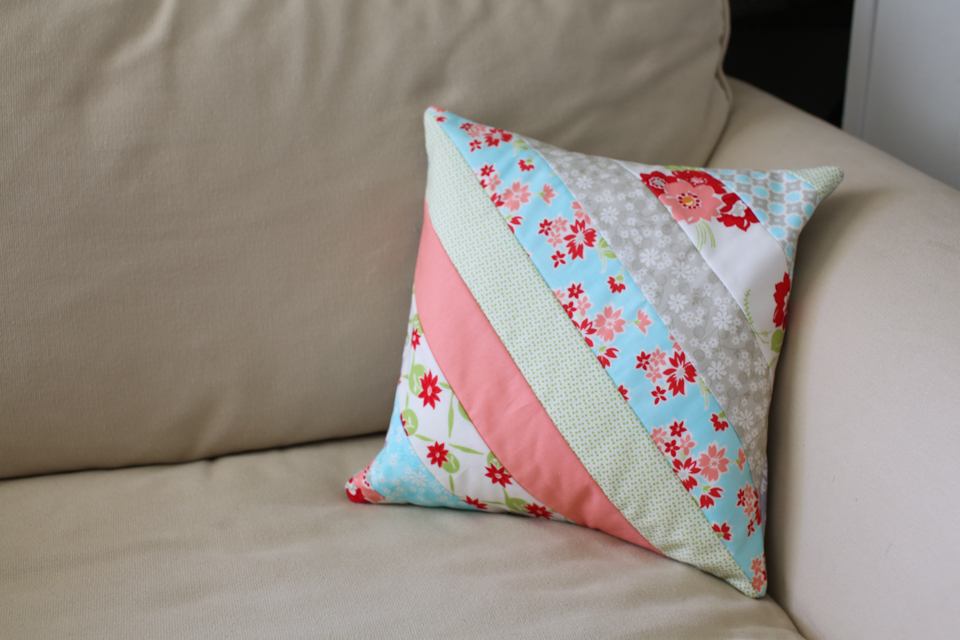
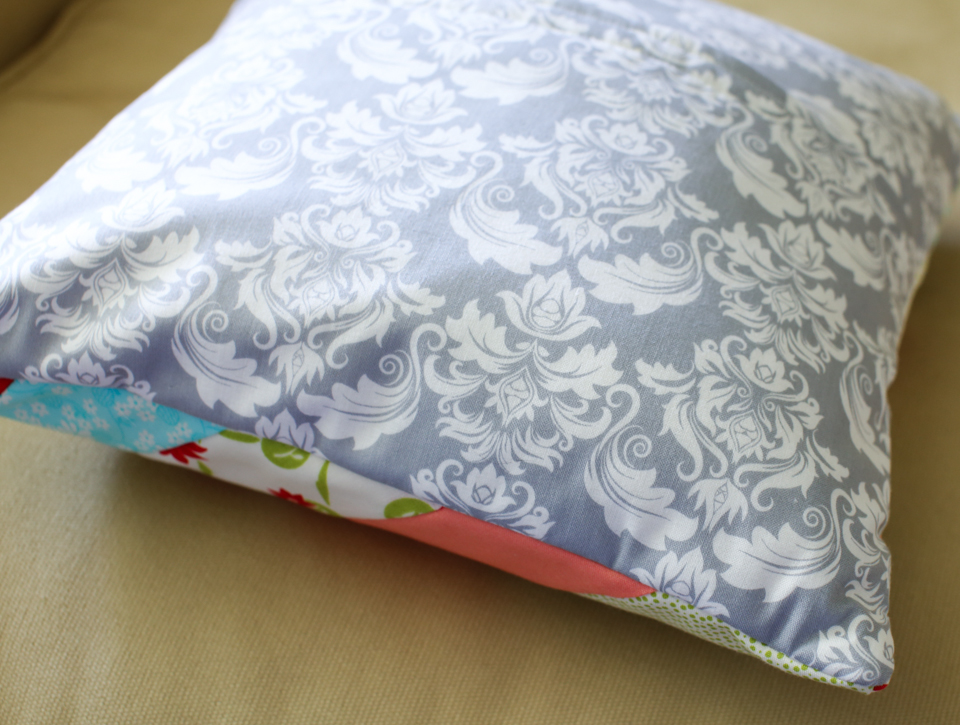
Flip it back over to admire your beautiful work!
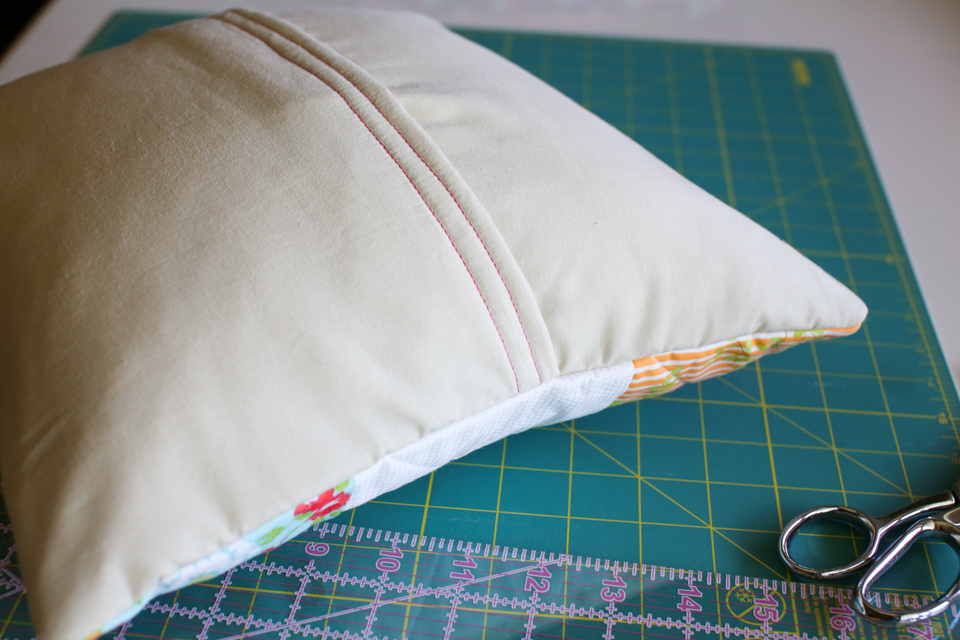
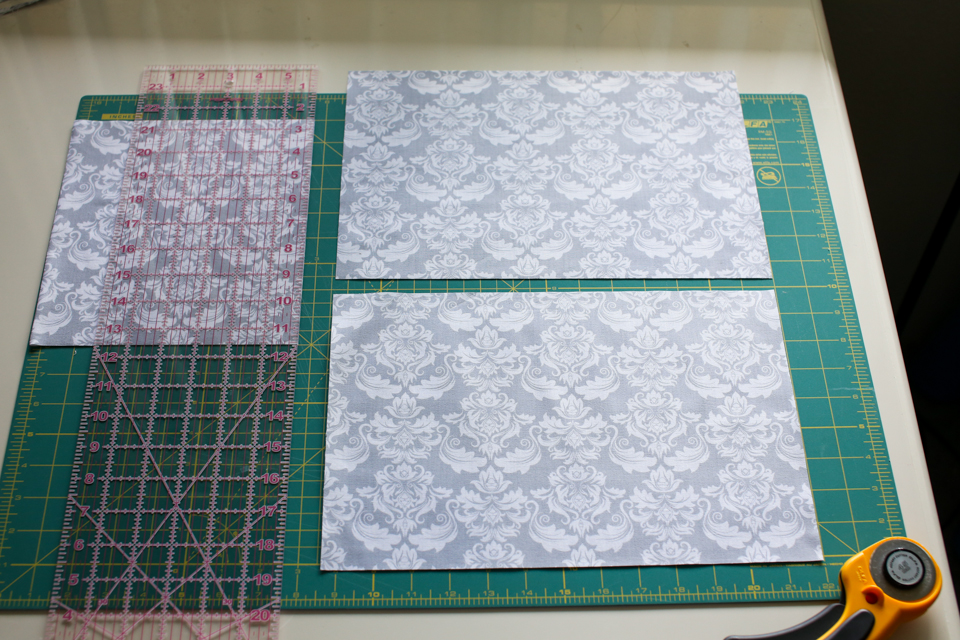
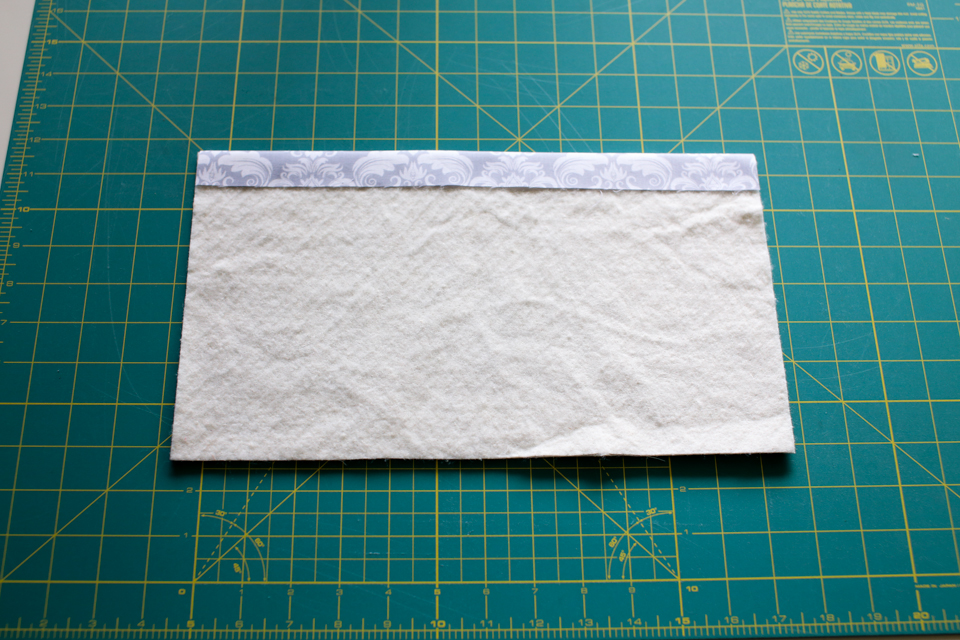
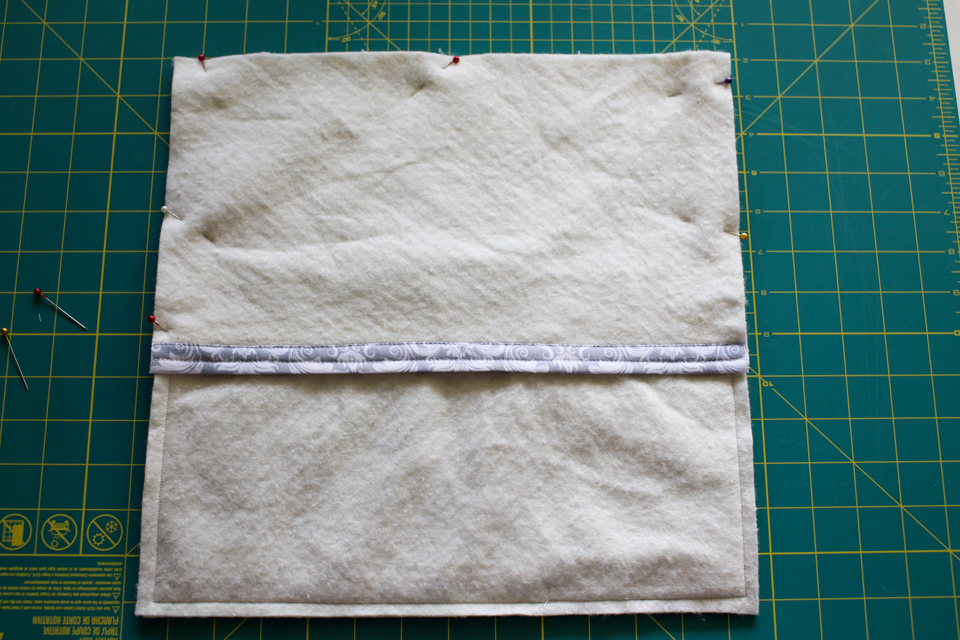
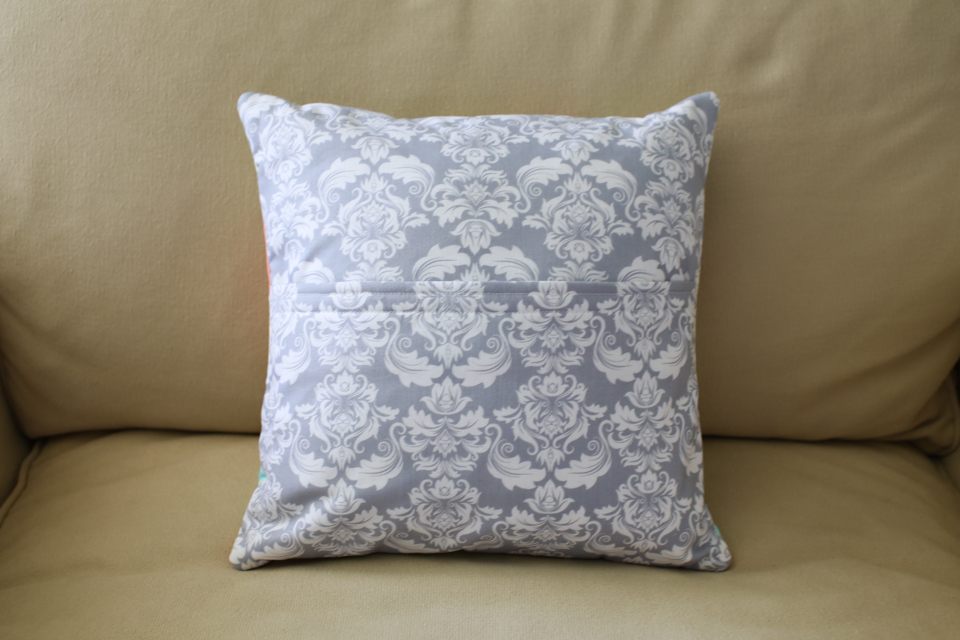
STEP 3: Prepare the back of your pillow. Cut two pieces measured at 9″ by 13 1/2.” I chose a nice bold print but in a gray color so that the colors in the front of the pillow would pop more. You will also need 2 pieces of batting measured at 8″ x 13.5″ used to add some padding to the back. I know, it’s a pillow… why does it need to be padded, right? Isn’t the pillow self-padding? The batting makes the pillow case feel sturdier and more structured. :)
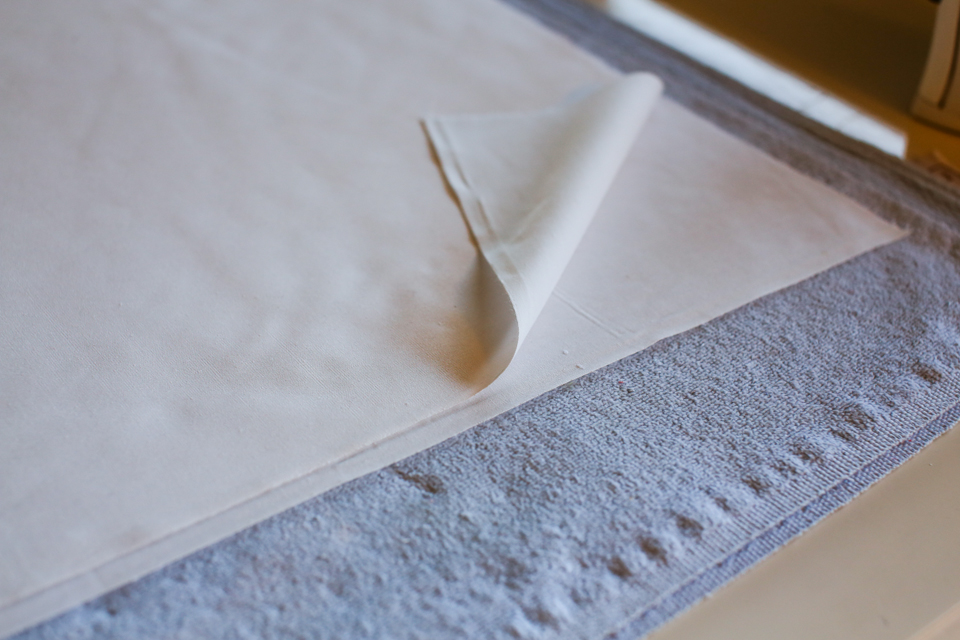
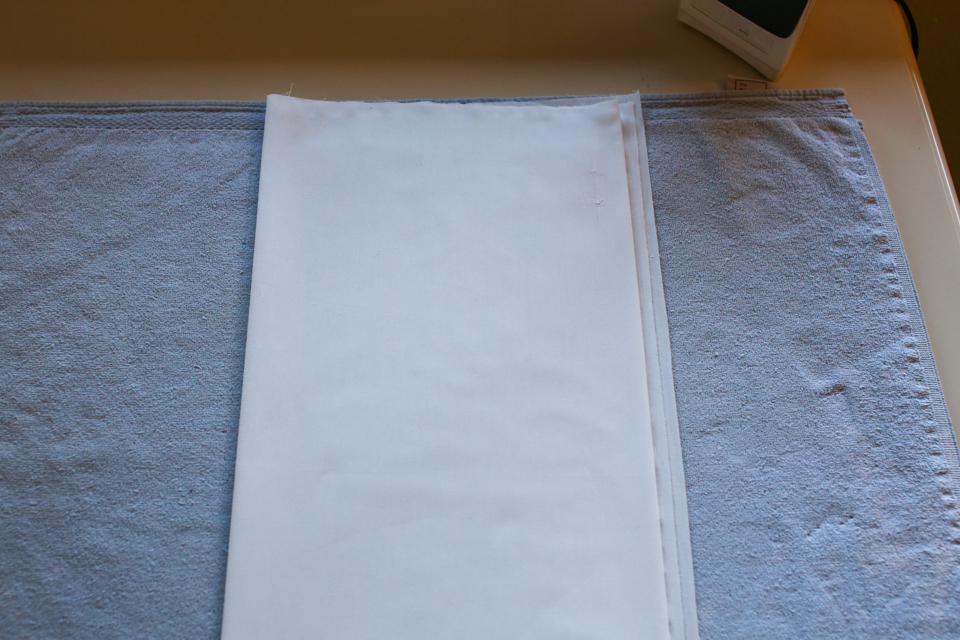
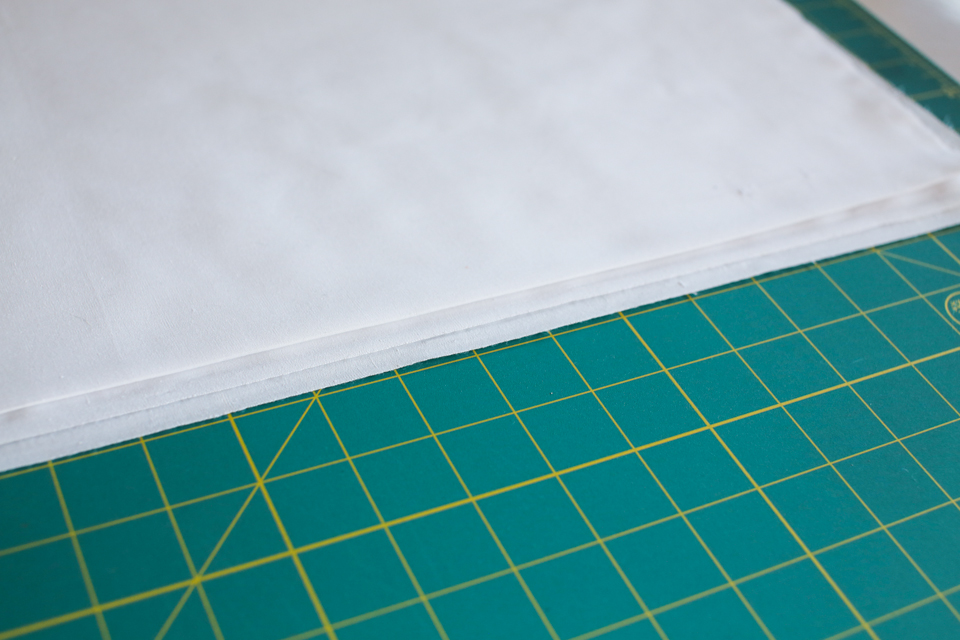
Fold over the fabric piece 1″ over on the 13.5″ side. Press down.
Insert the batting under the fold.
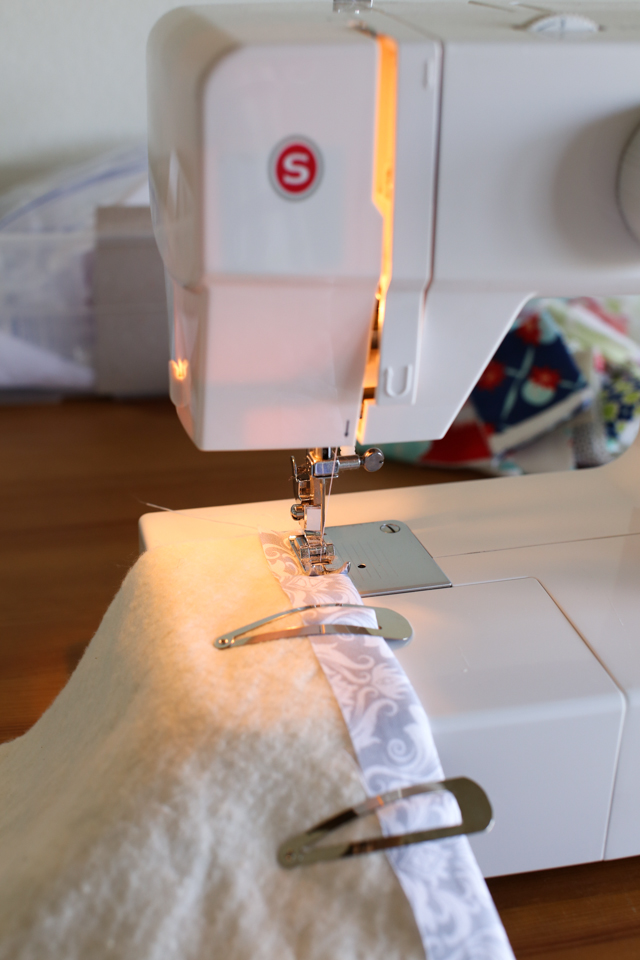
Sew two lines at 1/4″ inches apart to secure the batting. Repeat these steps for the other fabric and batting which should be identical.
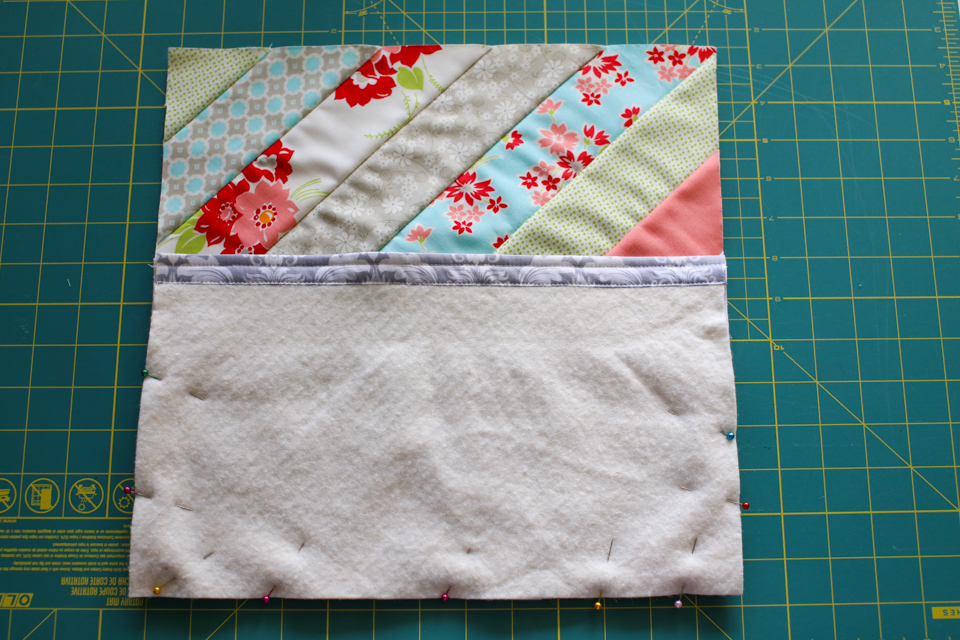
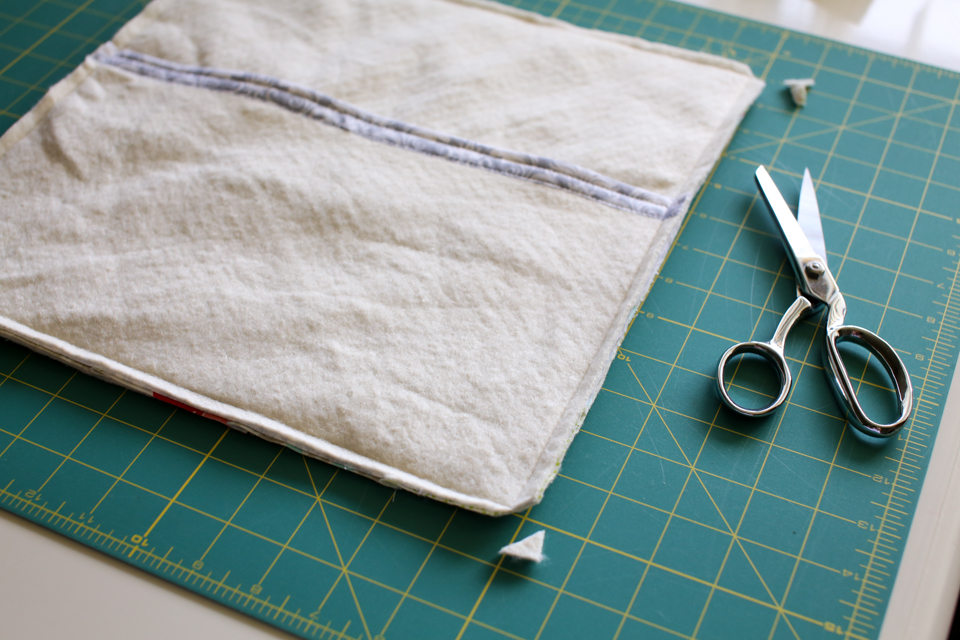
STEP 4: Attach the back of the pillow to the front.
Lay the first piece down right sides together. Pin or clip together (I actually prefer clips. I feel like they are less likely to move. I used pins here but I actually changed my mind afterwards and clipped them.) Sew at 1/4″ seam allowance around the piece to attach. Use the smallest stitch size your machine can do to make sure it’s extra sturdy and won’t “bust at the seams” when you stuff it with the pillow form.
Attach second piece, right sides together, overlapping the first piece. Pin, or clip down and sew over with 1/4″ seam allowance along the edge on this side.
Cut all four corners as close to the seam as possible. This eliminates bulk at the corners and turns beautifully. Well, what are you waiting for?
FINAL STEP: Turn right side out and stuff it with the pillow form!
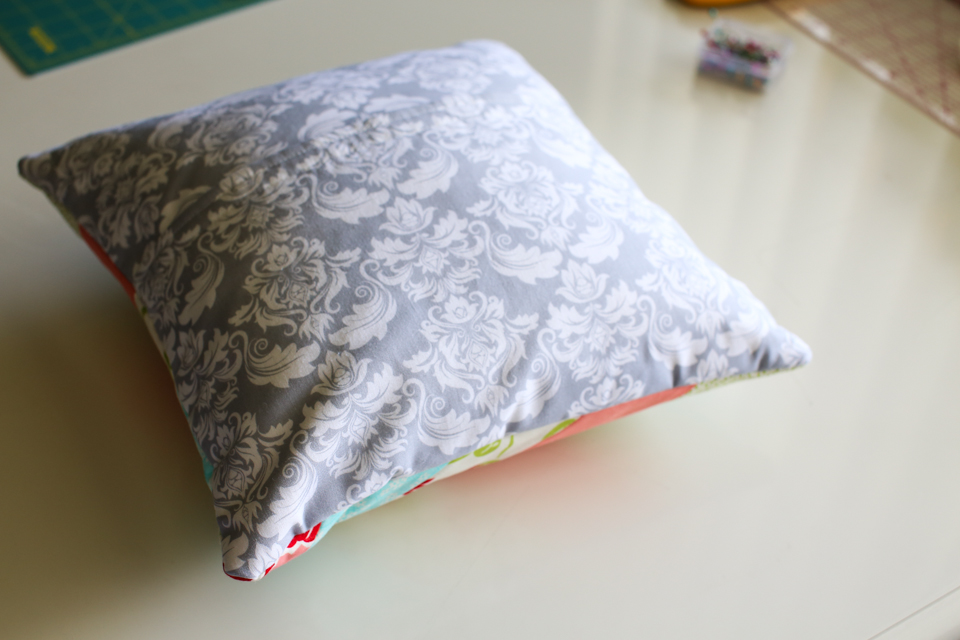
Some photos of how my pillow turned out!
It took me about 2 hours to complete one pillow from start to finish. I’m very happy with the results… are you???


.jpg)